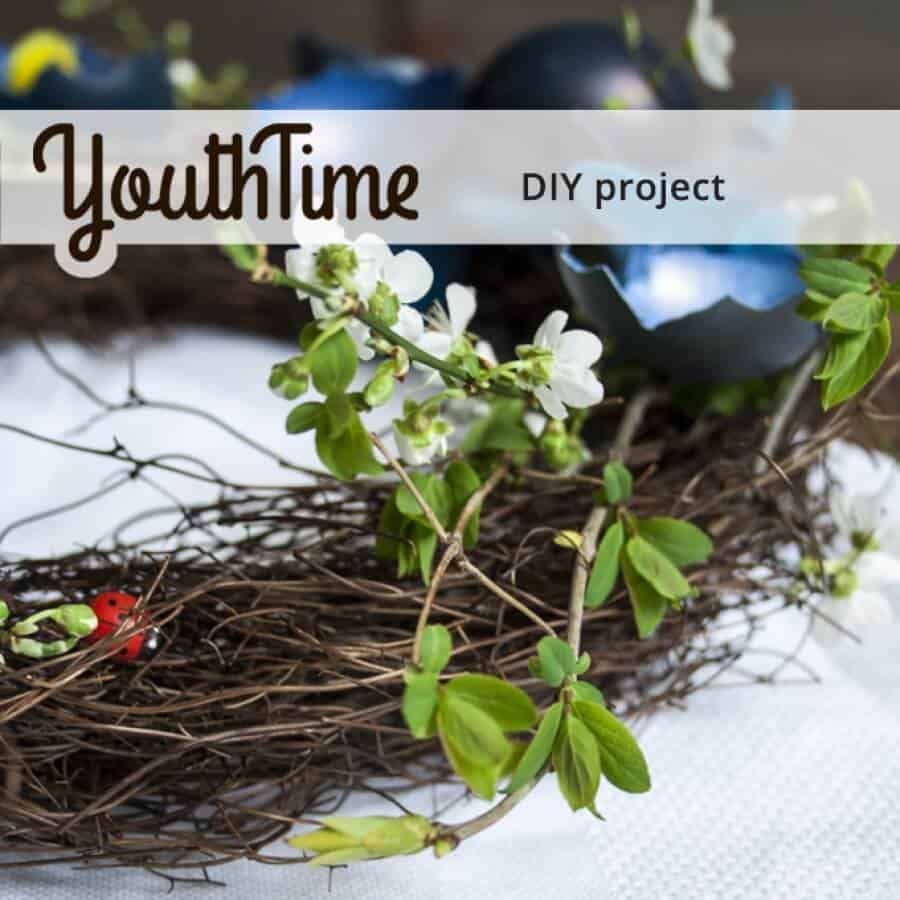

Easter is quickly approaching, and with it comes probably the best season of the year. Get inspired by our gallery of decorations and make yourself a wonderful Easter wreath step by step. It will surely create a wonderful atmosphere in your home.
Easter wreath
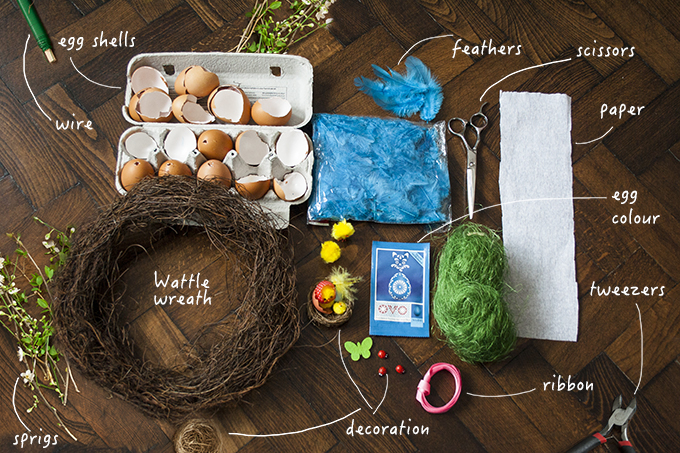
What you need:
- Wattle wreath – available in craft shops
- Whole eggs with contents removed and also some well broken egg shells
- Easter egg colour (we used blue) + 1 table spoon of vinegar, old jar and spoon for coloring, and plastic gloves
- Sprigs of your choice (may be blooming blackthorns, apple tree, or willow…), but also artificial flowers bought or made of paper which surely will last long, unlike the fresh ones
- wire (about 0,5)
- Tweezers
- Scissors
- Super glue
- Decoration according to your imagination (see our monochromatic feathers to the egg shells, cute chicks, or ladybirth)
Process
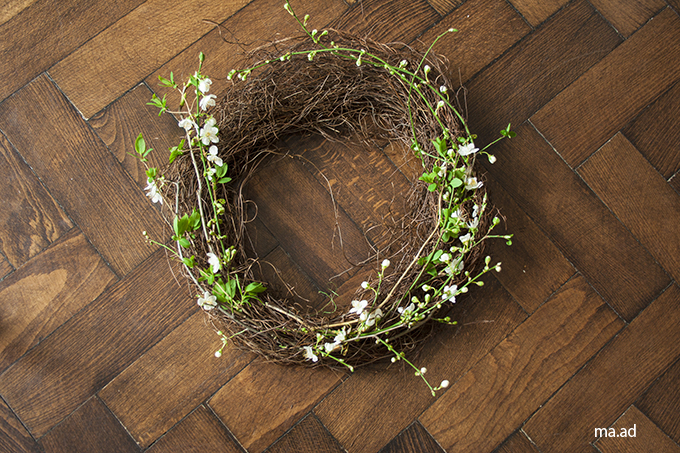
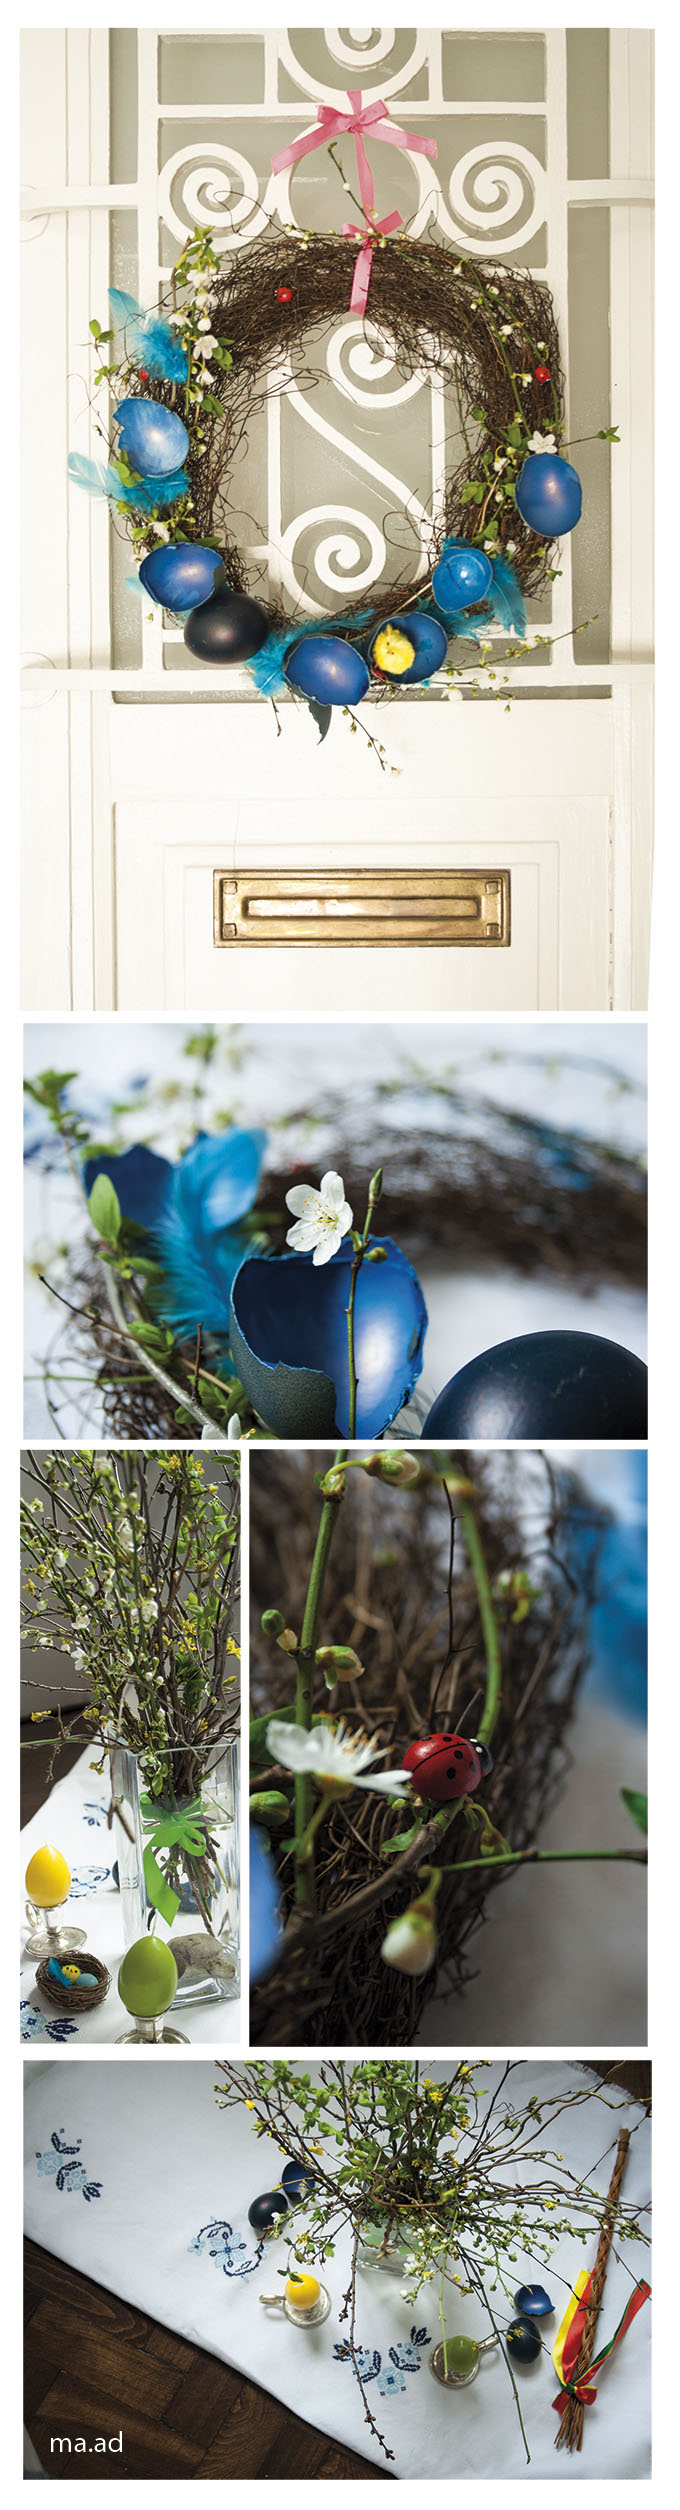
Since the base wreath is ready made, it eliminates the weaving. The first step is to arrange the prepared twigs using a wire.
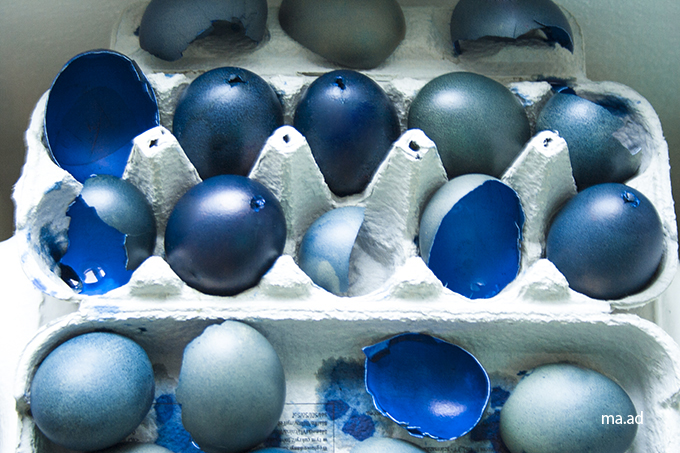
Meanwhile prepare the eggs. It is better to use white shell eggs, because the colour will adhere better, but we have also used the regular colour, and it works. Clean the eggs and make two little holes on both tops of the egg with a few precisely aimed cuts with the tip of the knife. Blowing into one end you will remove the contents through the other side (another option is to buy ready made ones). The other eggs are simply broken into larger pieces.
Now comes the colouring. Prepare the colour bath acording the instructions on the packet (usually it is hot water, pack of colour, and vinegar). Soak the shells until you achieve the desired shade. Be aware that the empty eggs won’t sink easily, since there is air inside. With the help of a spoon you can keep them sunken, and after they fill with water, they stay put. Of course then it will be necessary to let the water out after the process is done. Let them dry, for example in an egg box. The excess water will easily get absorbed in the paper box and won’t leave too much stain, neither on the eggs, nor anywhere else.
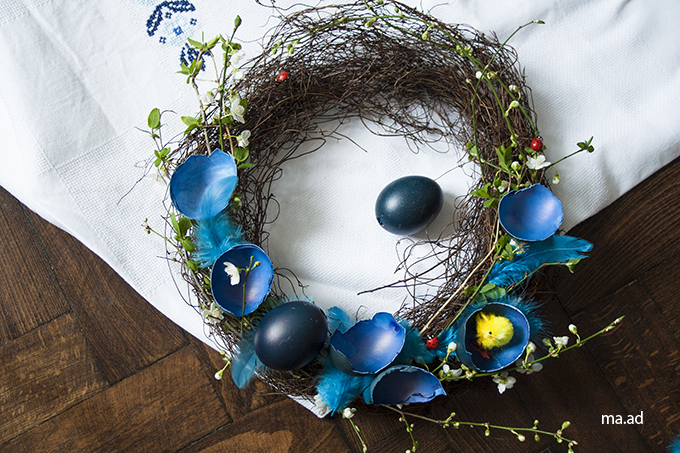
The last step is the most creative, because it requires you to assemble your chosen decoration scheme. We used super glue to fix the feathers, eggs, and other decorations.
Enjoy the work, and most importantly have fun.
Photos: Martina Advaney
Support us!
All your donations will be used to pay the magazine’s journalists and to support the ongoing costs of maintaining the site.

Share this post


Interested in co-operating with us?
We are open to co-operation from writers and businesses alike. You can reach us on our email at [email protected]/[email protected] and we will get back to you as quick as we can.