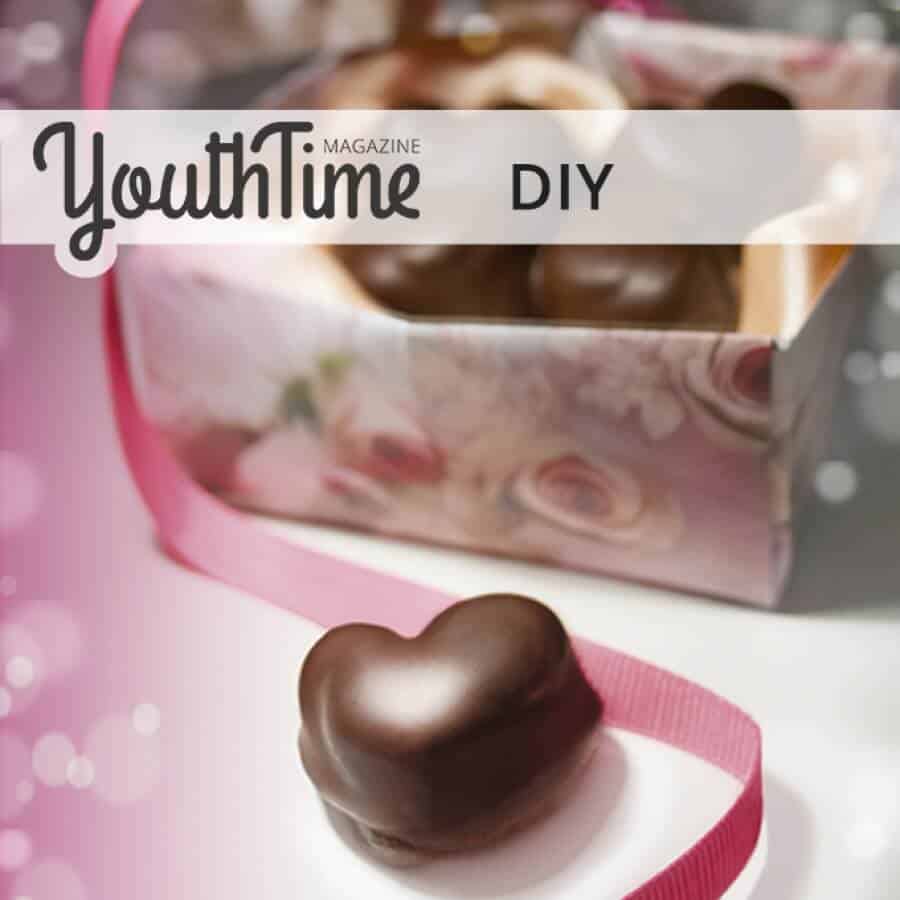
The Holiday of all lovers is surely a very special occasion. What if you prepared something for your loved one by yourself? Here is a quick recipe for chocolate truffles. No special skills required, or a lot of time spent in the kitchen, it is an embarrassingly simple recipe, but as often happens, it tastes heavenly. In addition, you can also create a decorative box to keep the treats nicely organized. You will find both the recipe and the box template below.
Chocolate truffles
Ingredients:
250g of chocolate (make sure it has a higher percentage of cocoa – the better the quality of chocolate, the better is the result)
125 ml of rich cream (31 – 40%)
25g butter
extra chocolate for melting (1 bar of 250g will be more than enough and if you need to thin it, you can use cocoa butter, butter on the other hand thickens the mixture)
You will also need:
A silicone form with the pattern of your choice ( I used hearts … of course)
For filling the form with the truffle mixture it is helpful to use a bag of the type you would use for decorating cakes, or a small spoon.
Toothpicks
A stand where you can stick the toothpicks holding the freshly chocolate covered truffles to dry them. (I used a rounded ice maker form, which had just the right holes for it. Polystyrene will work as well.
Preparation:
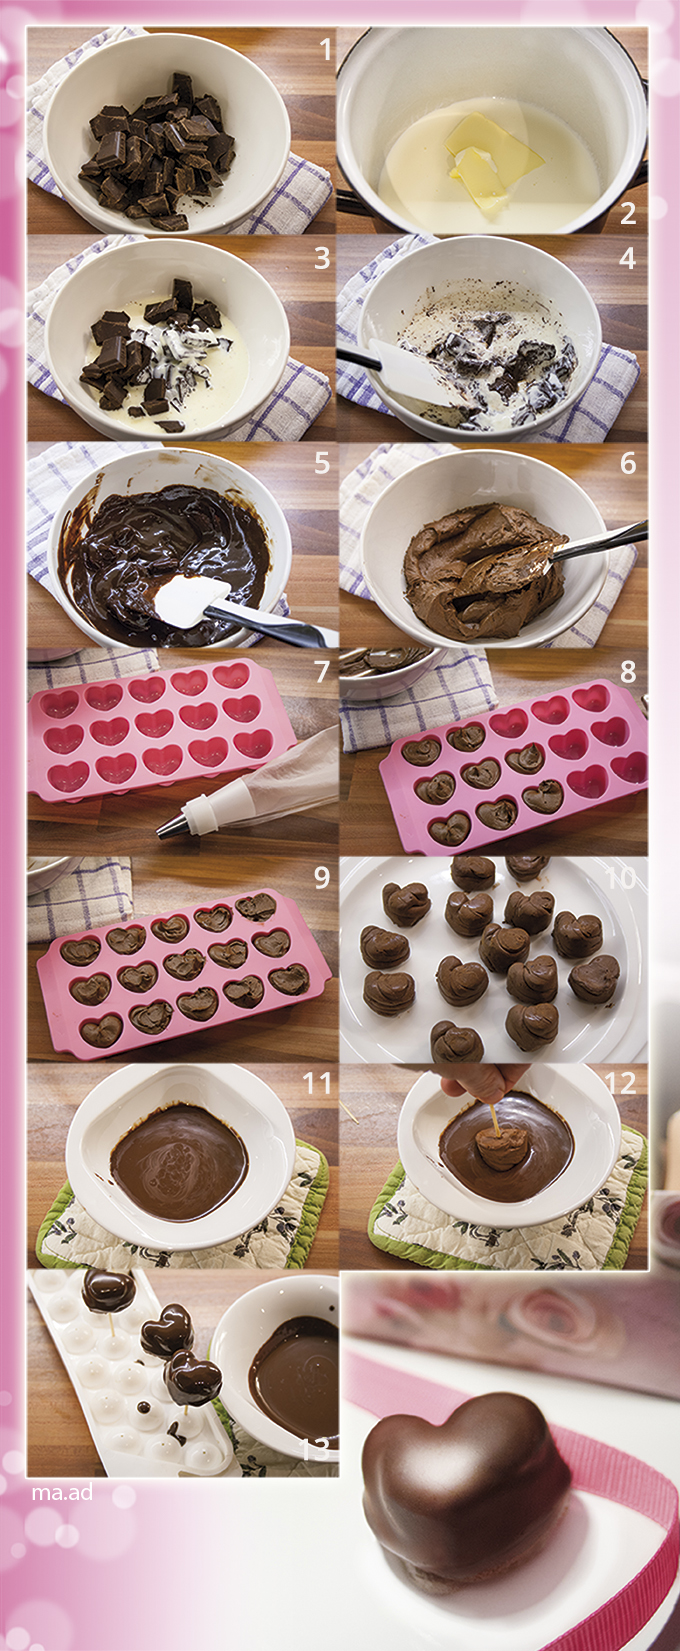
First break the chocolate into pieces. Bring the cream to a boil and melt the butter in it. Pour the mixture over the crushed chocolate and start mixing it until it becomes a completely smooth, thick paste (smaller pieces will hasten the process). For the version with the form, you can immediately start filling the form and then keep it in the fridge to solidify (also possible to use a freezer for less than 30 minutes to hasten the process). You will now use melted hot chocolate to cover the truffles so the colder and more solid the truffles are, the better it is. Stick each truffle on a toothpick, dip it in chocolate, and put it into a prepared stand to cool.
After drying the chocolate, you can further decorate the pieces for example with strips of white chocolate.
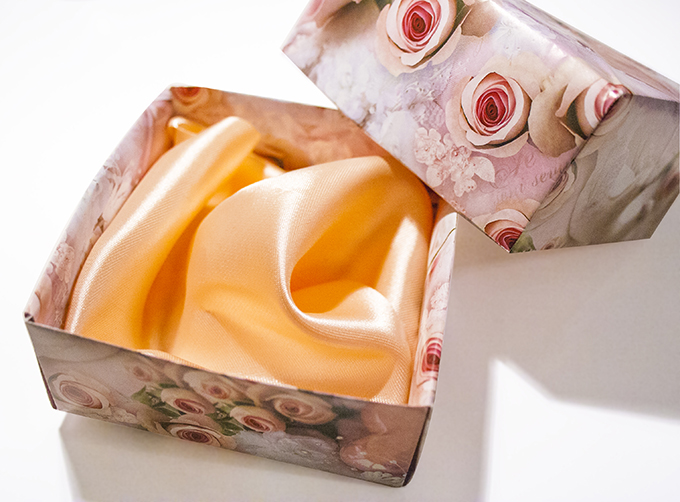
Decorative box
You will need:
Decorative paper of your choice (one printed side is enough)
Scissors
Glue
Ribbon
Ruler
Small piece of soft material like satin or other material to put inside, cca 20cm (optional)
Process:
The origami box is made from one square piece of paper, resp.
Two (bottom part and the lid). Use two squares, one appx 254mm and the second smaller cca 240mm.

Photos: Martina Advaney
Support us!
All your donations will be used to pay the magazine’s journalists and to support the ongoing costs of maintaining the site.
Share this post
Interested in co-operating with us?
We are open to co-operation from writers and businesses alike. You can reach us on our email at cooperations@youthtimemag.com/magazine@youthtimemag.com and we will get back to you as quick as we can.


